Alebrije "Grim"  Alebrijes:
 Ok for my visitors from other countries:
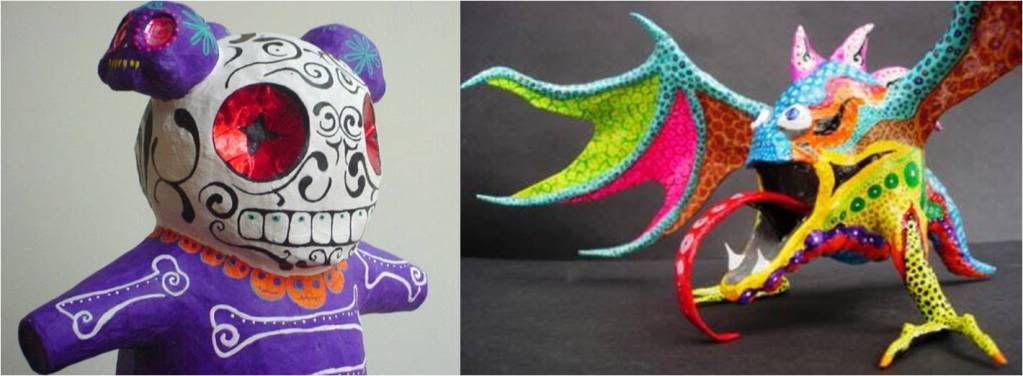
The cardboard is a technique that is used throughout the country and lost in time, before, were made, masks, alebrijes , piñatas, judas, toys and catrinas, most religious or magical purposes, using paper or cardboard.
Now his invention (alebrijes) are the two craftsmen compete primarily Mexican (Pedro Linares and Jose Gomez Rosas) art reflected in these figures is masterly, I gave a direction more ... geek I hope you like it:
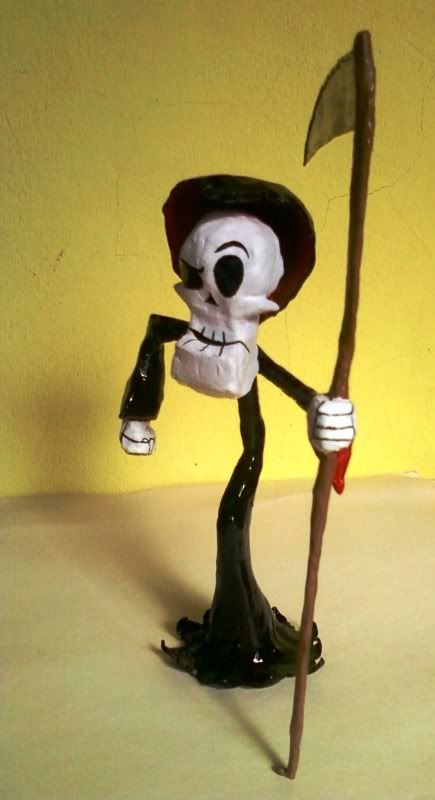
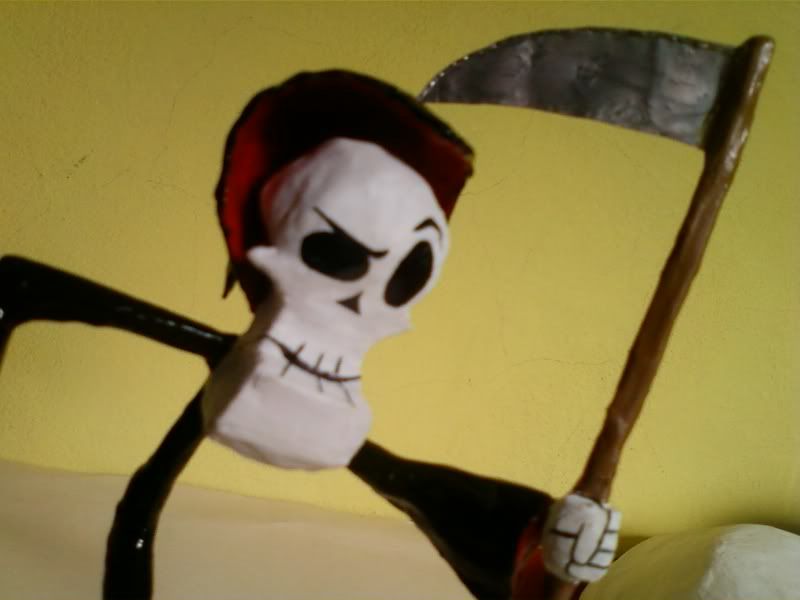
Grim (The Grim Adventures of Billy and Mandy): 
Well the technique used to produce it is the cardboard, many do not know but it is the same as that used for making masks and helmets paper.
The difference between this paper sculpture (alebrije) and a conventional alebrije is that "pure blood" is an existing character, has markings and measures, and in doing so have to look like a alebrije is a figure out of the imagination its creator and can be of the form and color it is, therefore (and is not presumption) that is a little more difficult, as many know the character and judge him are alike and look alike. Well
make a paper figure geek, is like what the makers of animated films (those who have to deal with making a 2D drawing to 3D.), The first step is to make three-dimensional model (figure) they hehe I have software and probably most of you reading this, just have your brain:
See these topics, the technique is the same: Paper Face Helmet
clonn trouper Hokage Hat precautions on the use of paint Before Painting
Steps: • Pictures: get as many as you need it is important to get a different side of each character's body they want to do (profile, front, back), this will help us get a three-dimensional image, of course in brain.
• Print images: why not just see them on the computer? Because if you decide to try to make a figure will be much time wasting the energy of your computer, in addition to the brain work better if you see a "collage" that only one image at a time. and the main images printed on one sheet.

• Make a structure wire in the desired way: this is very difficult because many people can not see the finished work, just come, wire and the sound barrier (unimaginative) prevents him a good way from the beginning. As I try to imagine three-dimensional figure and achieve their mission.
• Shaping: this can be done with cardboard (to cover large areas) and newspaper (for forms defined), connecting all with white glue or paste.
• Finish: paint (the colors needed, this depends on who chose to do) in my case always give a layer of polished wood putty and make it work better, then paint.
Sorry for the lack of images in the tutorial, but I stole my cell phone and they were in the photos on this and other tutorials so I ask an apology for the poor visual information.

Finally, the cardboard is an ecological art, since the materials used are recyclable and do not harm the planet, so I hope you consider this information if you want to do something well, thanks.


 Alebrijes:
 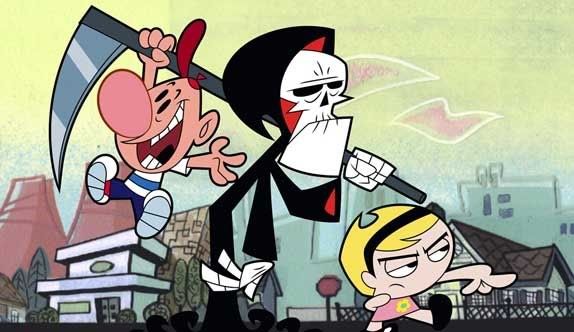 Well the technique used to produce it is the cardboard, many do not know but it is the same as that used for making masks and helmets paper.
 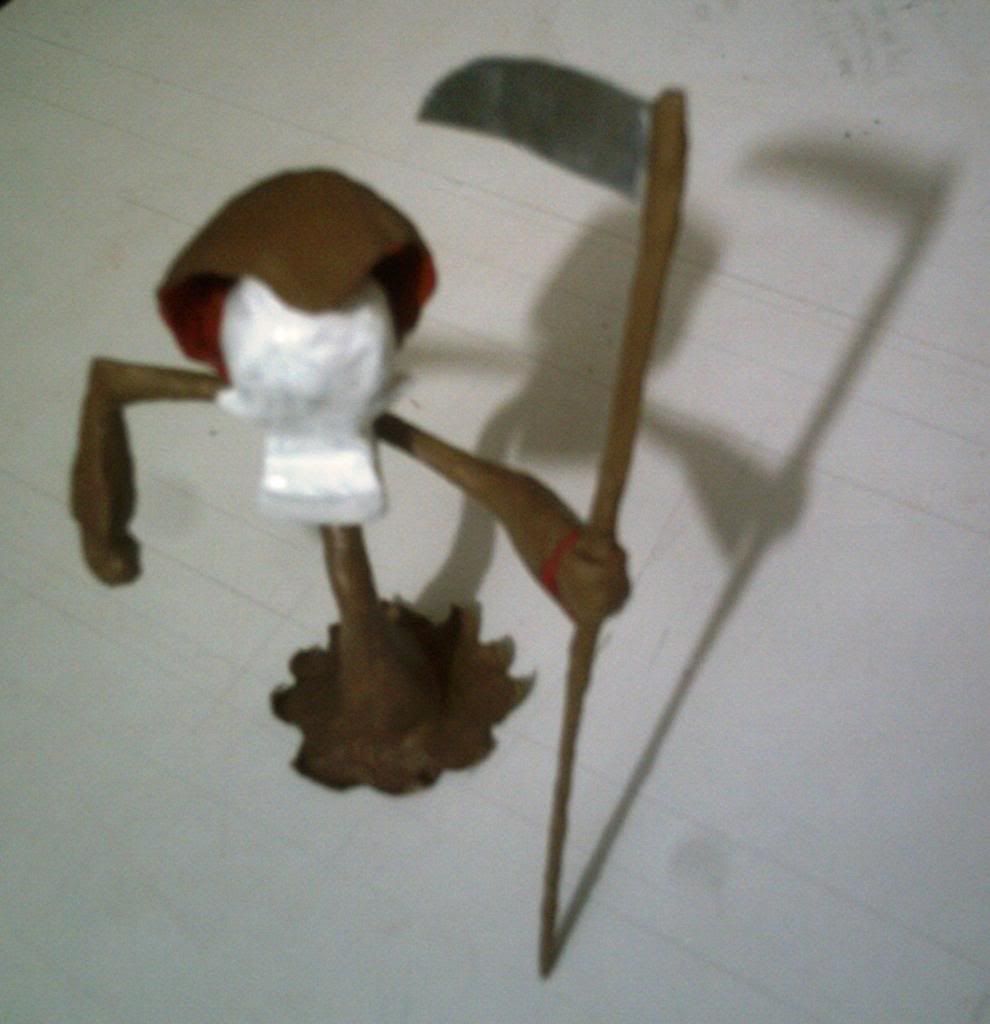 • Make a structure wire in the desired way: this is very difficult because many people can not see the finished work, just come, wire and the sound barrier (unimaginative) prevents him a good way from the beginning. As I try to imagine three-dimensional figure and achieve their mission.
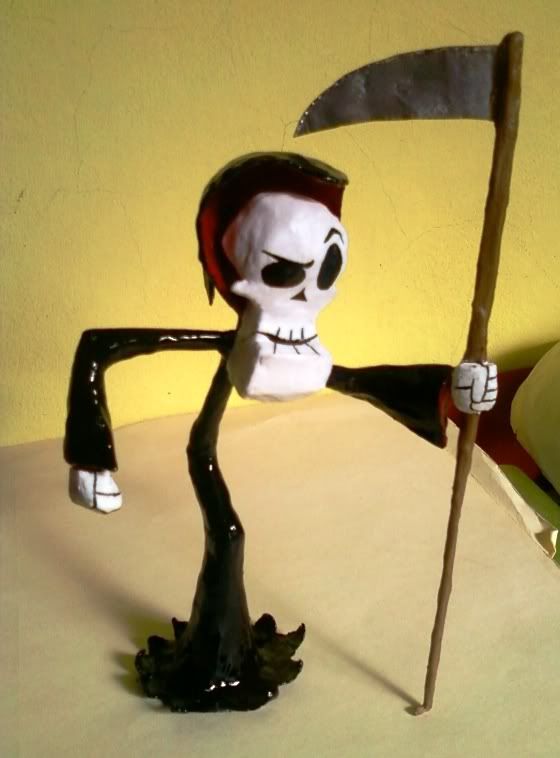
 Lyrics seem lined with fabric .. but not are. My idea was inked, but that I like the yellow, so:) And the flowers ... ainsssssss yellow and polka dots! They are precious! ??

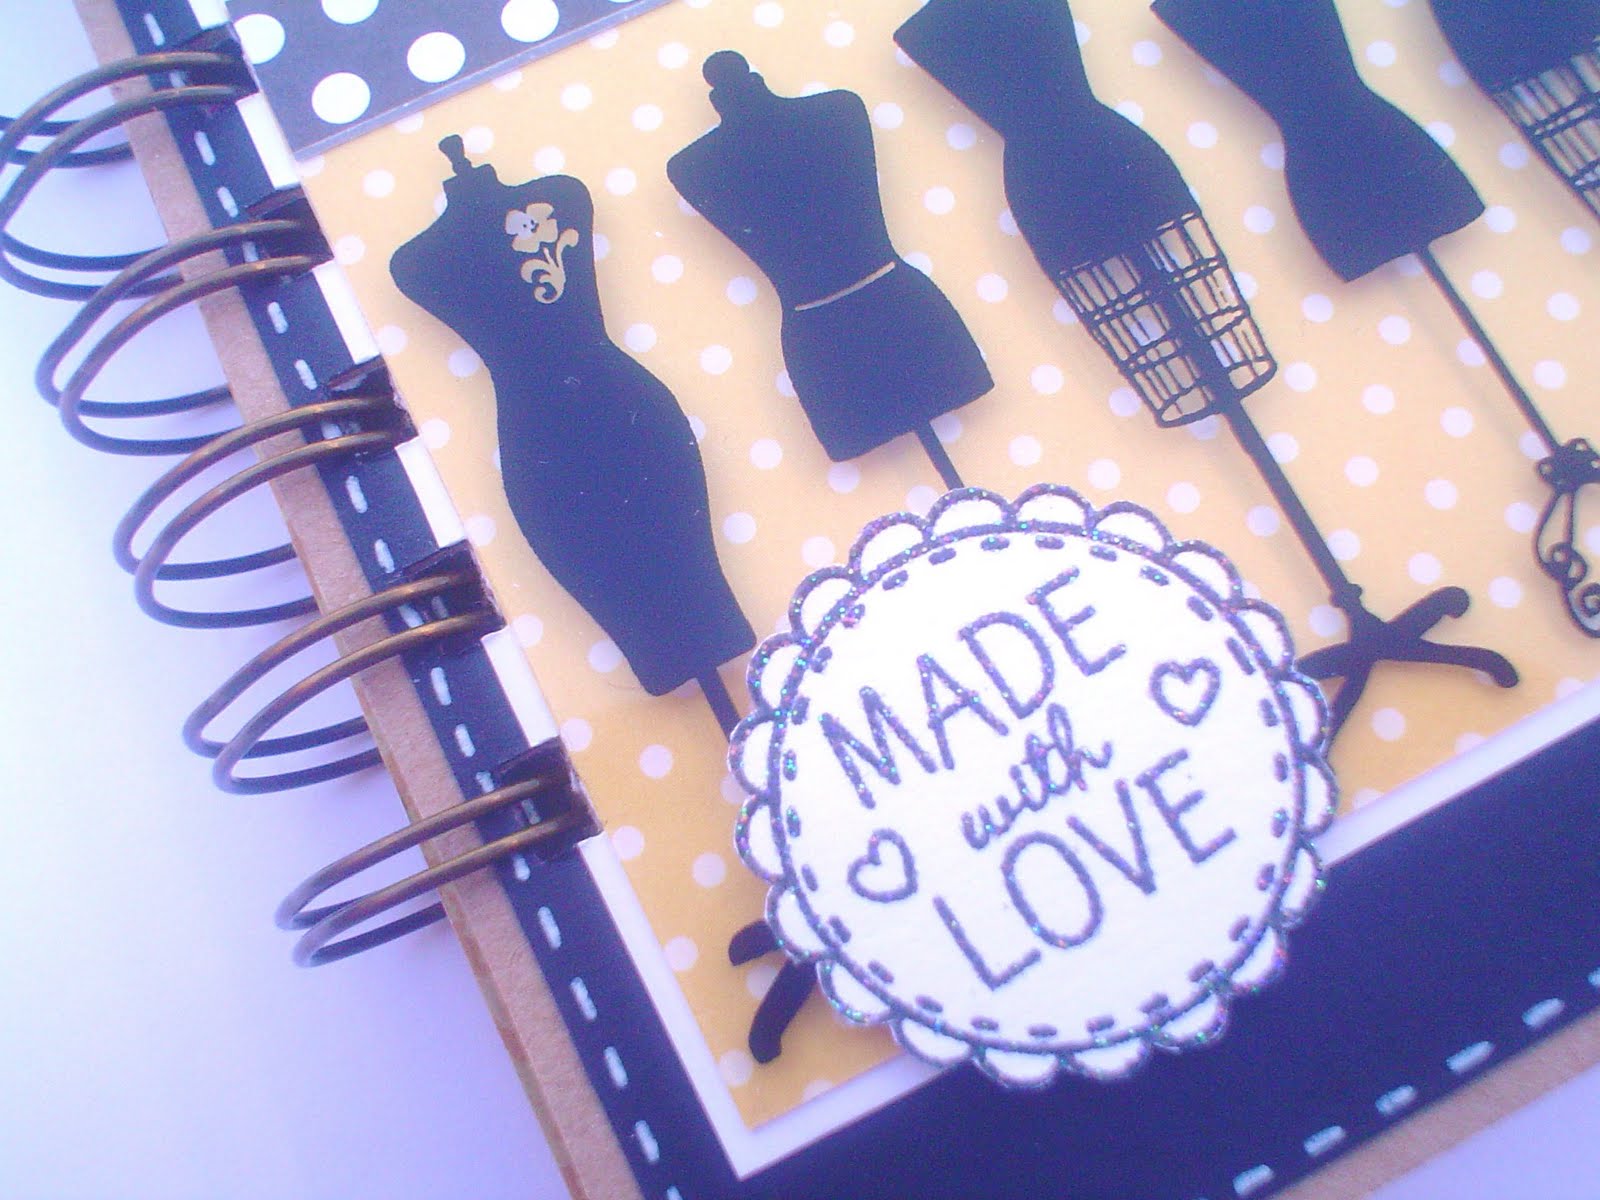
 Embossing and in yellow marker, no more;)


 Cutting dummies .. :)
  Here I lined one over on the side of the flap and I placed the flower as seen .. simplest possible! But with paper so pretty .. (Rather patchwork jejje)

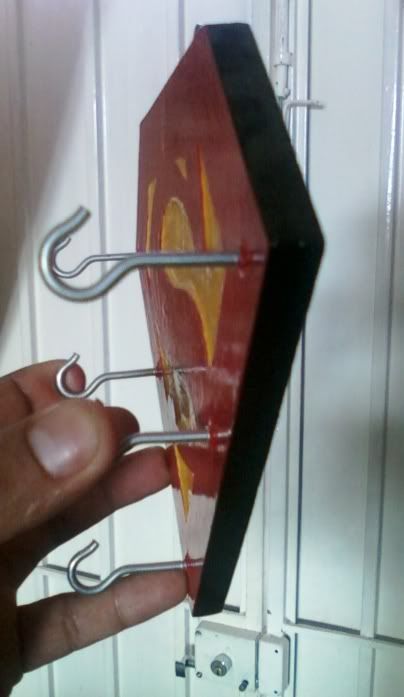
 carulina I put some of hinges on that, although not seen very well in the picture how I placed .. are there! : P


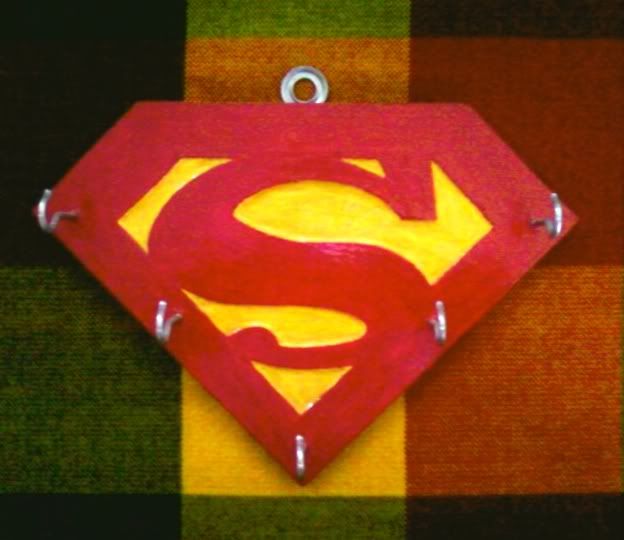
 A mini me this I loved it, and I am very happy .. mirarmelo I like because it is not up when I have in my hands! ... Jejje: D
